|
Click on photos for a bigger picture. Click
on browser 'back' button to return to main document.
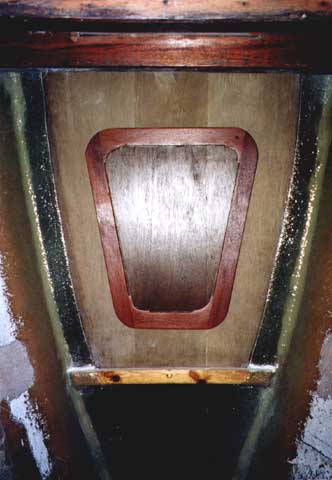
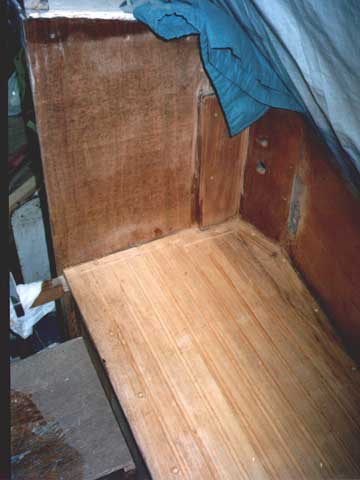
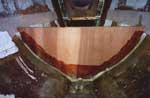
The finished anchor
chain locker.
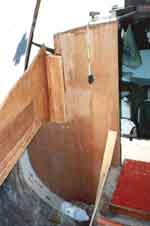
The second bulkhead
glassed in. Note scrupulously clean areas to be glased.

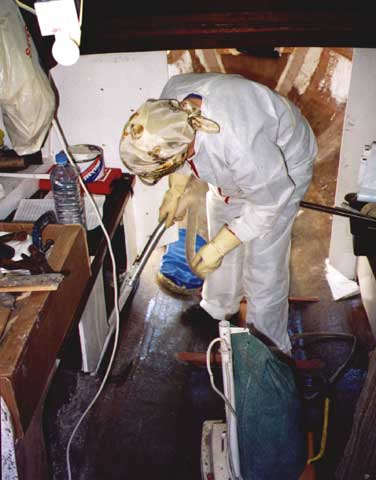
Sue doing her best to keep us tidy. I'm a messy worker as you'll see
in most photos.

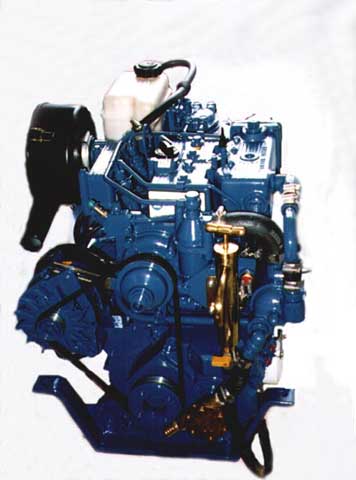
Our new engine (It
we photographed in the back of Denys' van, picture 'cleaned' up.)
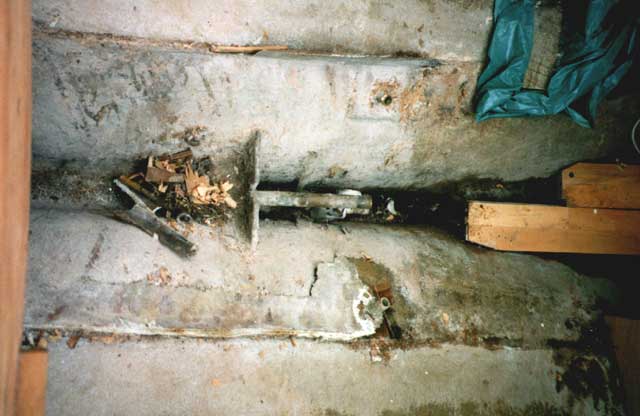
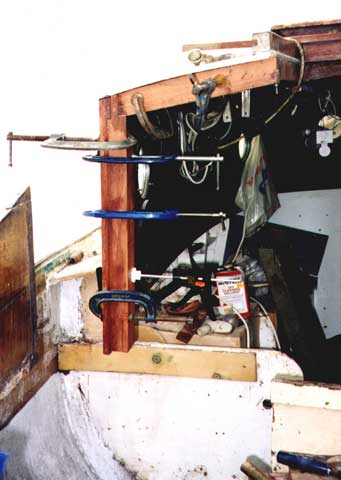
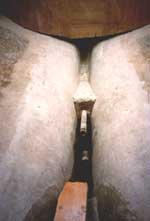
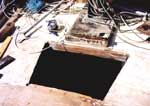
 The stern tube
et environs before I cleaned it up.
You can see the poor condition of the old bonding for the cockpit risers
The stern tube
et environs before I cleaned it up.
You can see the poor condition of the old bonding for the cockpit risers
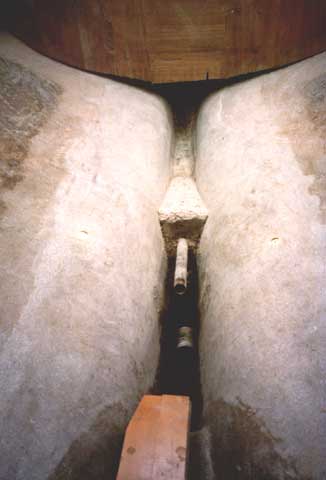
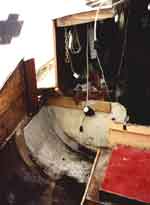
The same area cleaned
up ready for rebuilding
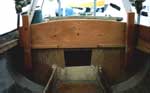
The aft cockpit surround
back in place

Denys tidying up
the epoxy after we'd put the starboard cockpit side back in place.
The starboard cockpit
seat in place. Denys made all the new wooden parts in his workshop at
home in Austwick. He had lots of machinery which he skilfully used.
|
|
Status at End of 1998
Well we are a little behind the original
plan. Most of the deck has been recovered with two layers of 2 oz CSM.
We have the base of the tabernacle to do and the after deck.
Both sides of the deck at the forward end of the cockpit were
rotten and the plywood had to be cut back and replaced. This wasn’t
too difficult and the repair is better than new.
Most of the original GRP covering had been separated from the
plywood deck, which is why we had to replace it.
We have designed and fitted a new fore hatch support.
This is in iroko and screwed and GRPed to the deck.
We have turned the hatch round through 180 degrees so that it
opens from the back.
We decided to redesign the rubbing stark
and have removed the entire old one, parts of it were rotten. We laid-up
the GRP cover up the sides of the deck so that water could not possibly
get between the deck and the hull. There are now two scuppers each side
which are working a treat at the moment We are going to clean up the
facing boards and fit an iroko rubbing strake to the top of them which
will also overlap the hull to deck joint
Basic Layout We considered
the boat as she was and we were unhappy with several features. The heads
was in an uncomfortable position. It was tucked away nicely on the port
side between the main and fore cabins but to use it one had to put 'one's
head between one's knees'. The fore cabin had the usual 'vee' berth
but it was too small for adults. Underneath the vee berth was the anchor
in a good stowage position but completely unserviceable from a sailing
point of view. The galley was on the low side. The chart table was a
bit congested and the starboard quarter berth was small and almost inaccessible.
The cockpit was impractical with its seats sloping downwards. The engine
needed replacing with a larger one. Denys set to work and tried several
layouts but we kept corning back to the one we decided to pursue. We
decide to put the heads into the main cabin space to give us the necessary
headroom. This was a hard decision as the best feature of the boat was
its relatively large main cabin.
Next Steps We are continuing with
the engine installation but now we are developing the chart table/galley
area immediately forward of the cabin aft bulkhead on the port side.
Our first problem is to get round the engine compartment. The engine
intrudes into the cabin by about 300 mm. So we have to find someway
of sitting or standing at the chart table and still have access to the
space underneath the chart table. We have to find a place for all the
navigation and safety instruments too.
Engine We are fitting
a new engine, well nearly new. It is a marinised reconditioned Lister
Alpha 20. Denys went to the 1998 Boat Show in London and fell in love
with the engine but the price, nearly £4 000, was beyond our reach and
in any case it was more than the boat was worth. However the Lister
stand were so impressed with Denys' drooling over the engine that they
put us in touch with Cotswold Marine Diesels who came up trumps and
supplied our beautiful engine at a price we could afford.
We looked at all the small boat engines
in our price range and decided that they were a little under powered
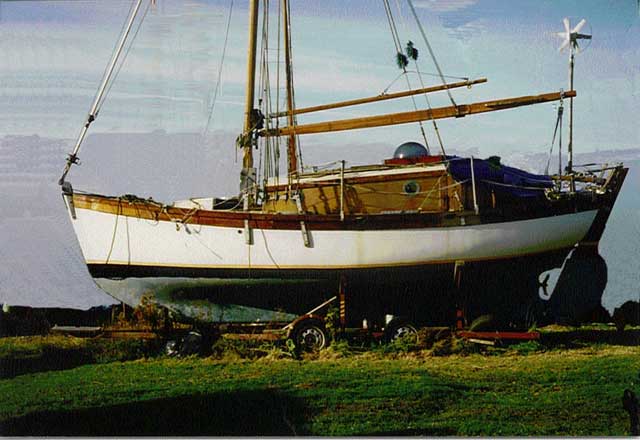
for our purposes. The boat is a traditional gaff rigged topsail cutter
can be a bit of a handful for two old timers like Denys and I so we
opted for a reliable iron topsail. The existing engine was a Vire 7
petrol engine which we considered under powered and potentially unreliable,
the surveyor condemned has being unsuitable without so much batting
an eyelid. We were browsing the PBO web she and spotted someone asking
for spare parts for the Vire so we put our details on the net for him
and someone else snapped it up. The man turned out to be a friend of
several friends' of Denys's from his university life, which added a
bit of spice for him. The Lister is in show condition with polished
brass and copper and painted in the traditional Lister blue, they have
changed the colour slightly for their factory engines today. We can't
wait to slip it into gear and move away from the slip.
Engine Installation We glassed
in the engine bearer supports a few days ago. The supports are hard
wood blocks bonded to the cockpit sides and then glassed in with three
layers of 2 oz CMS. The bearers are steel galvanized 'L' sections, 100
mm x 75 mm x 6 mm, about 550 mm long.
We are waiting to get the bolts and nuts to finally fix them in place.
The stern tube has been reduced in length
and we hive about 65O mm to get the drive from the engine to the propeller
shaft in. The exposed concrete, which builds in the stern tube has been
enclosed and sealed to the hull with more 2 oz CSM.
Electrics These need sorting out.
The engine has a 55 amp alternator and we have a wind generator in the
loft. We are planning to have at least two batteries and up to now and
are thinking of two deep cycling batteries of either 80 or 90 amphour
capacity. Mr Roberts has offered
to design our system if we do some woodwork for him on his new boat.
New Diesel Fuel Tank We are making
a new GRP fuel tank to go in the port cockpit locker. The basic moulding
has been finished and all it remains is for the top to be bonded on
and the pipes and inspection hatches to be fitted. We are looking for
some gasket material to seal the inspection hatches. We have not fitted
a drain plug but an integral drain pipe into a small sump at the base
of the tank. We have used Isophthalic
Resin throughout.
Drive Shaft For the propeller
shaft we are adapting a VW Golf CV joint and wheel hub. This will mean
making adapters at both ends of the CV/Shaft assembly and shortening
the actual shaft. A commercial shaft and CV joints would cost us £500
and hopefully we will have a better solution at a fraction of the price.
Cockpit Changes Early on we decided
that the cockpit was all to 'cock'. The seats sloped downwards making
sifting on them a little perilous; not to mention when heeled. The main
longitudinal structure, plywood panels making the cockpit seat risers
had come away from the hull. The
GRP bonding had separated from the wood. We decided to start again and
cut out the entire cockpit. We salvaged the conning and samson posts
but threw away the rest. We
have refitted the restored coamings, with a small change to their design
and new plywood panels to support the seats and act as the engine compartment
come seat risers. The cockpit sole was self draining into the bilge,
it was supposed to go through cockpit drains but the sole leaked quite
badly. We are repositioning new drains and sealing
our new cockpit sole. So far we have completed the starboard side and
we are waiting to fit the fuel tank before we fit the port seat. The port seat will have a locker lid in it
to give access to what will be a locker on the port side. Under the
starboard side is the starboard quarter berth.
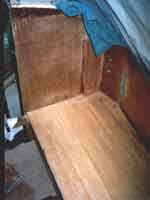
Starboard Quarter Berth The rear
four foot of this is complete. There is a small locker at the aft end
accessible from the top and two lockers underneath the mattress, only
one of them being much use. The outer wall of the hull has been covered
in carpet to preserve warmth and give a cosy appearance.
|
|
Click on photos for a bigger picture. Click
on browser 'back' button to return to main document.
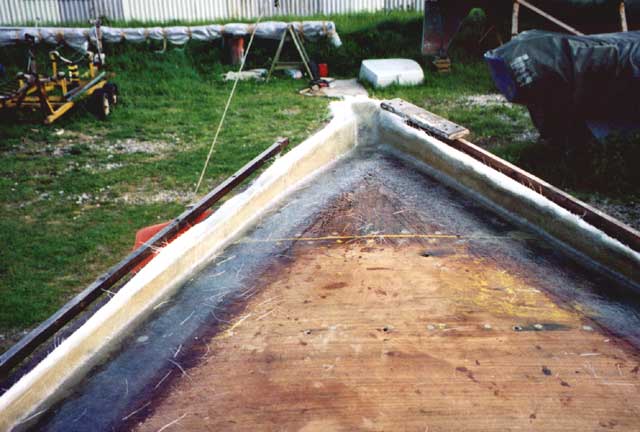
The fore deck stripped
of GRP The hull has to be cleaned up and the plywood roughened. Some
of the old GRP pealed off but a lot of it had to be ground off.
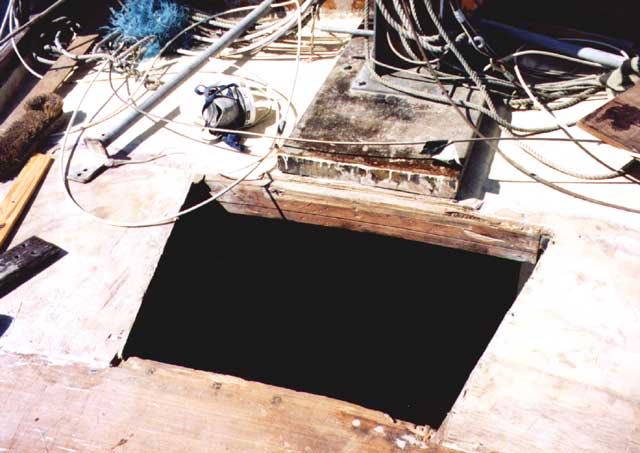
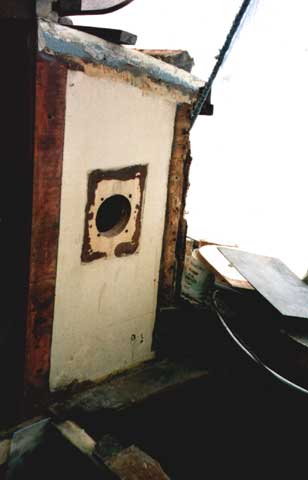
The old fore hatch
'hole'. In the picture above the base of the bowsprit support has been
removed. It was square sided similar to the tabernacle base shown in
this photograph.
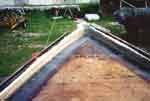
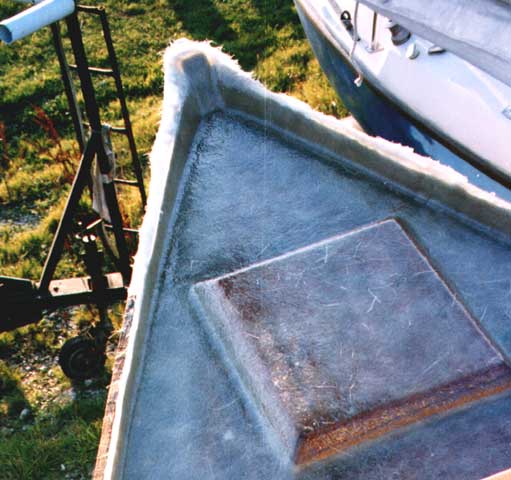
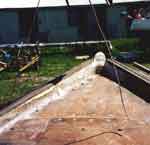
The deck bonded to
the hull. This was done all along the hull before the deck was covered,
the deck covering adding to the thickness of the hull bonding.

You can see the modified bowsprit base, tapered sides, under the GRP.
The sheathing is complete waiting to be trimmed at the hull sides.
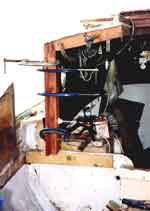
The damaged port
side aft cabin bulkhead removed. The coming is still in position. This
was later removed and Denys remachined it all before we refitted it.
The weak part o fhe deck has also been removed
New cabin side and top support being glued and screwed into place
The bulkhead in place
waiting to be glassed in and the renovated coming fitted

We made the port
bulkhead to match the starboard but then we found that the starboard
one was damaged too.
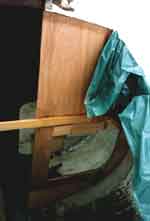
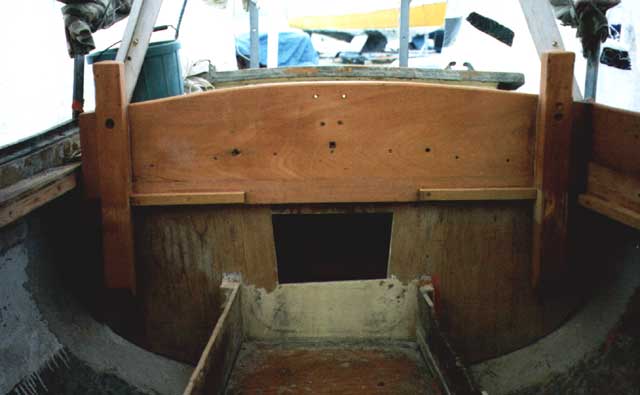
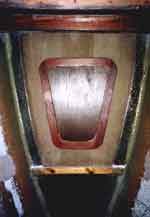
The new bulkhead
in place. Note 'hole' for quarter berth
|