|
|
Progress
during 1999
|
|
||
|
Click on photos for a bigger picture. Click on browser 'back' button to return to main document.
|
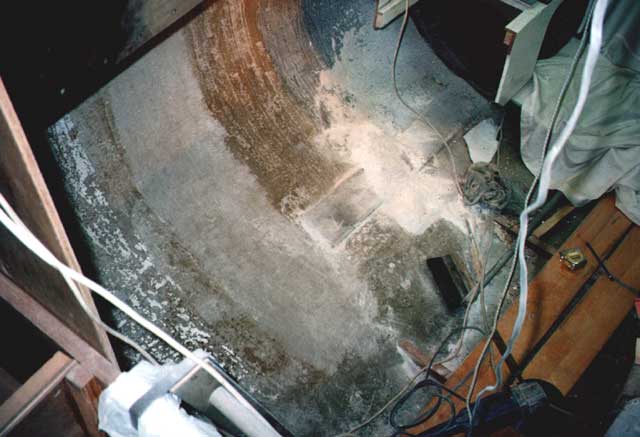
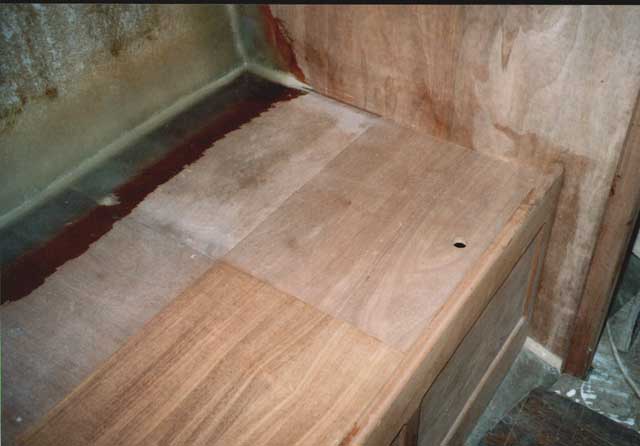
The work on this page was completed in the first nine months of 1999 while Denys was fit and well. Picture 1. The hull cleaned up ready to take the chart table bulkhead,
which we measured up for and Denys cut it out of the plywood stored
at his home. |
Click on photos for a bigger picture. Click on browser 'back' button to return to main document.
|
||
 9 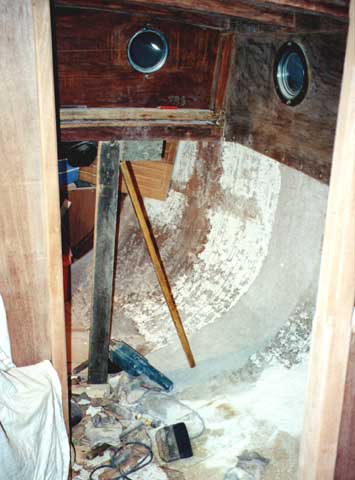 10 |
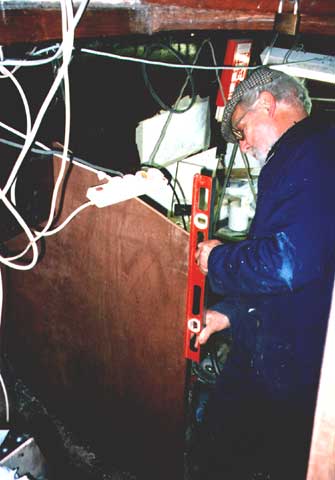
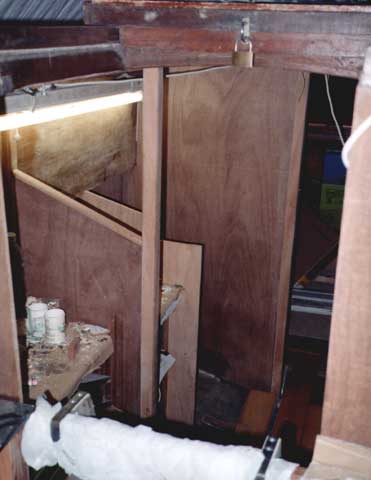
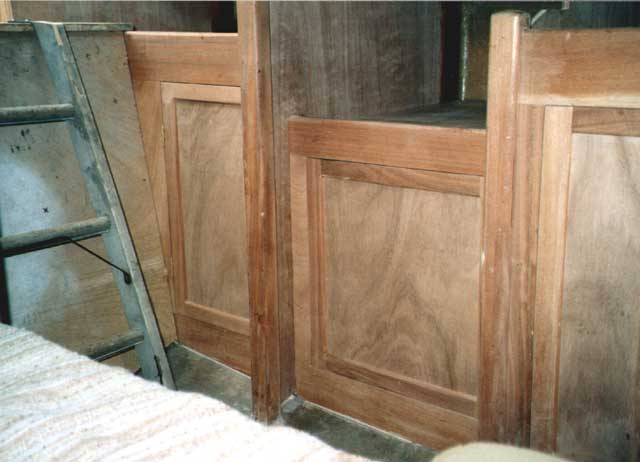
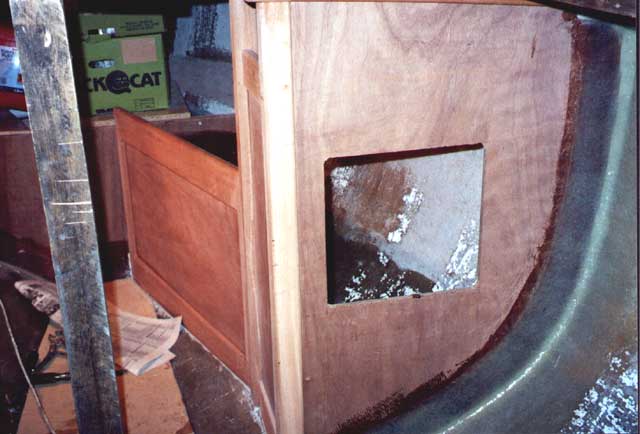
Attention now turned to the starboard side. Picture 9. The bunk removed Picture 10. The mast starboard bulkhead removed and some cleaning up ready for installing new bulkheads. Note the 'prop' to support the mast and sheet, which were quite heavy. Picture 11. The starboard mast support bulkhead glassed into place and the forepeak side panel. Picture 12. The port side panel in place in the forepeak Note the port cockpit seat propped up at the side of the hull. The bunk top is in place not yet glassed in. |
 11 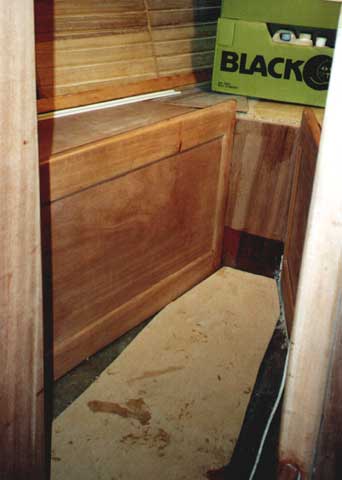 12 |
||
|
|
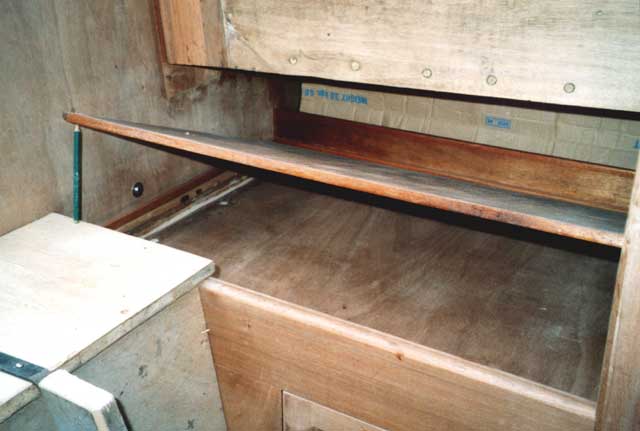
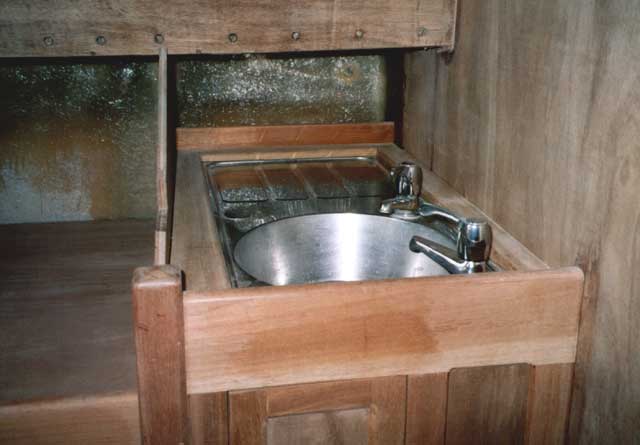
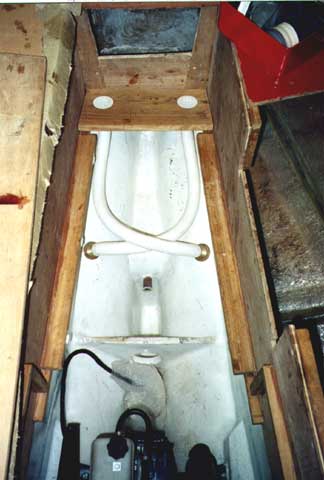
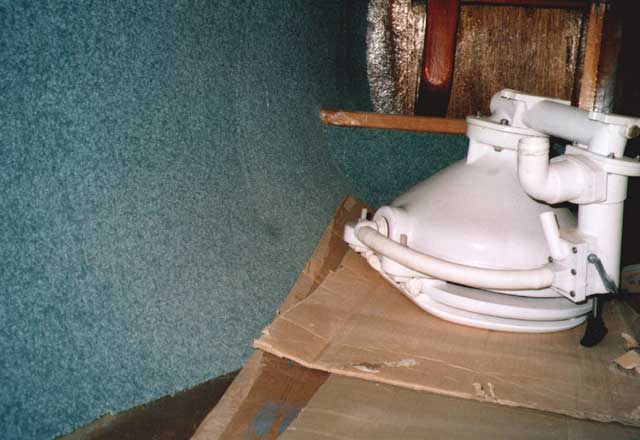 The quarter berth and locker on the right is the view up the tunnel of the quarter berth. The marine toilet is being stored here at this time |
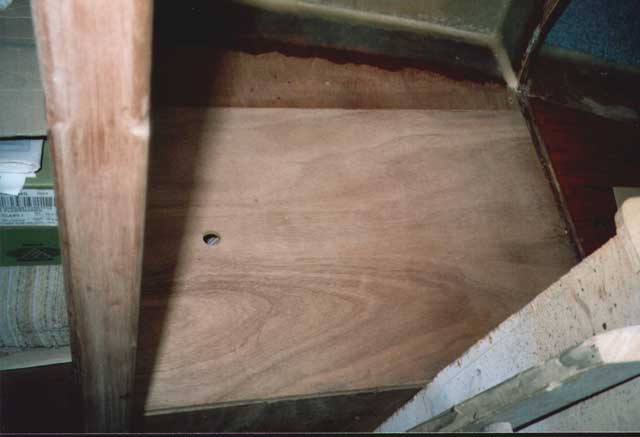
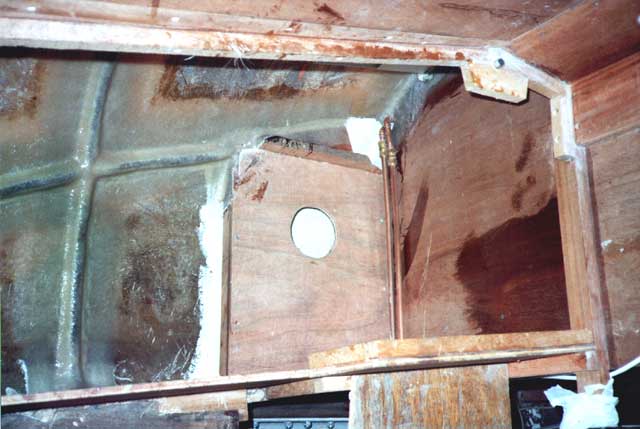
 The
main cabin bunk, top looking aft and above looking forward. You can se
the 'trotter box' clearly, i.e. the hole for the occupant's feet. The
main cabin bunk, top looking aft and above looking forward. You can se
the 'trotter box' clearly, i.e. the hole for the occupant's feet.
|
||
 |
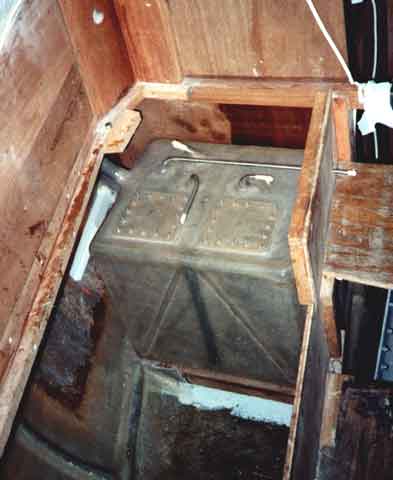
In May I crewed with Peter Hosking in Norman's Dheler
25 on the Clyde. On the left is the fuel tank bracket in position and on the right the fuel tank is in place at last. |
 |
||
|
|
September Between Sunday 5th and Tuesday 7th all my tools and some boat parts were stolen from the boot of our car. A tiny hole was made below the lock, didn't notice it until I opened the boot on Tuesday and found it empty. I just couldn't believe it but no amount of staring at the empty boot brought them back. Everything had gone, literally everything, the boot as completely empty! The insurance coughed up around £1000 to cover the loss and even though this meant I got some good new tools we lost a lot of boat parts and some irreplaceable tools.
By now, I'm not sure when - I'm writing this in 2005 - Denys had become ill and was in hospital where I visited him and discussed the next steps. He'd collapsed at the wheel of his car, with Helen as passenger, on the motorway on the way to Luton earlier in the year. With hindsight I think the family knew how ill he was but they didn't tell me, no doubt Denys didn't want me worried.
October
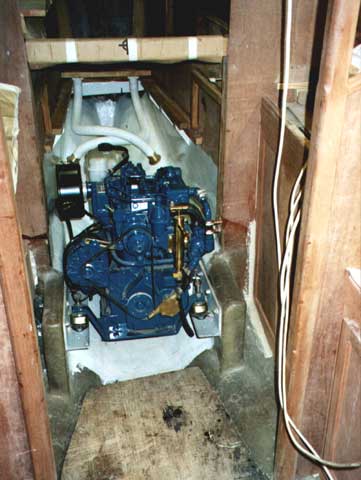
Whilst Denys was in hospital we'd picked the engine up out of
his workshop and installed it into the boat with the eager help of some
of my friends at the boat club.
|
|
||
|
|
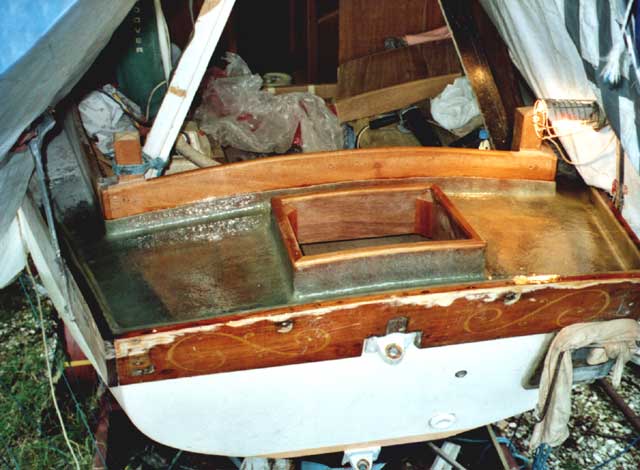
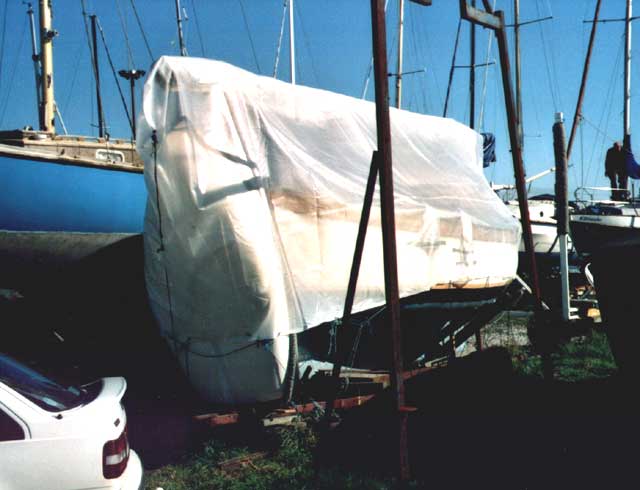
The next to the last piece of deck to be glassed
in was the aft deck. I was particularly pleased about the way it
turned out. On the right is the boat wrapped up for the winter. |
 |
||
| Tamarisk Home Page |
|
|||